


Laravel Gates allows you to authorize users from accessing certain areas of your application. You can easily define gates in your application and then use them to allow or deny access.
Let's start things off with a simple example of granting access without Gates, and then you'll see how we can use Gates as an alternative.
Simple Example
In our user's table, we'll assume we have a column named admin that can be a 1 or 0 based on whether the user is an admin or not. We could easily protect a section of our application by doing a simple check like this:
Route::get('administration', function(){
if(auth()->check() && auth()->user()->admin){
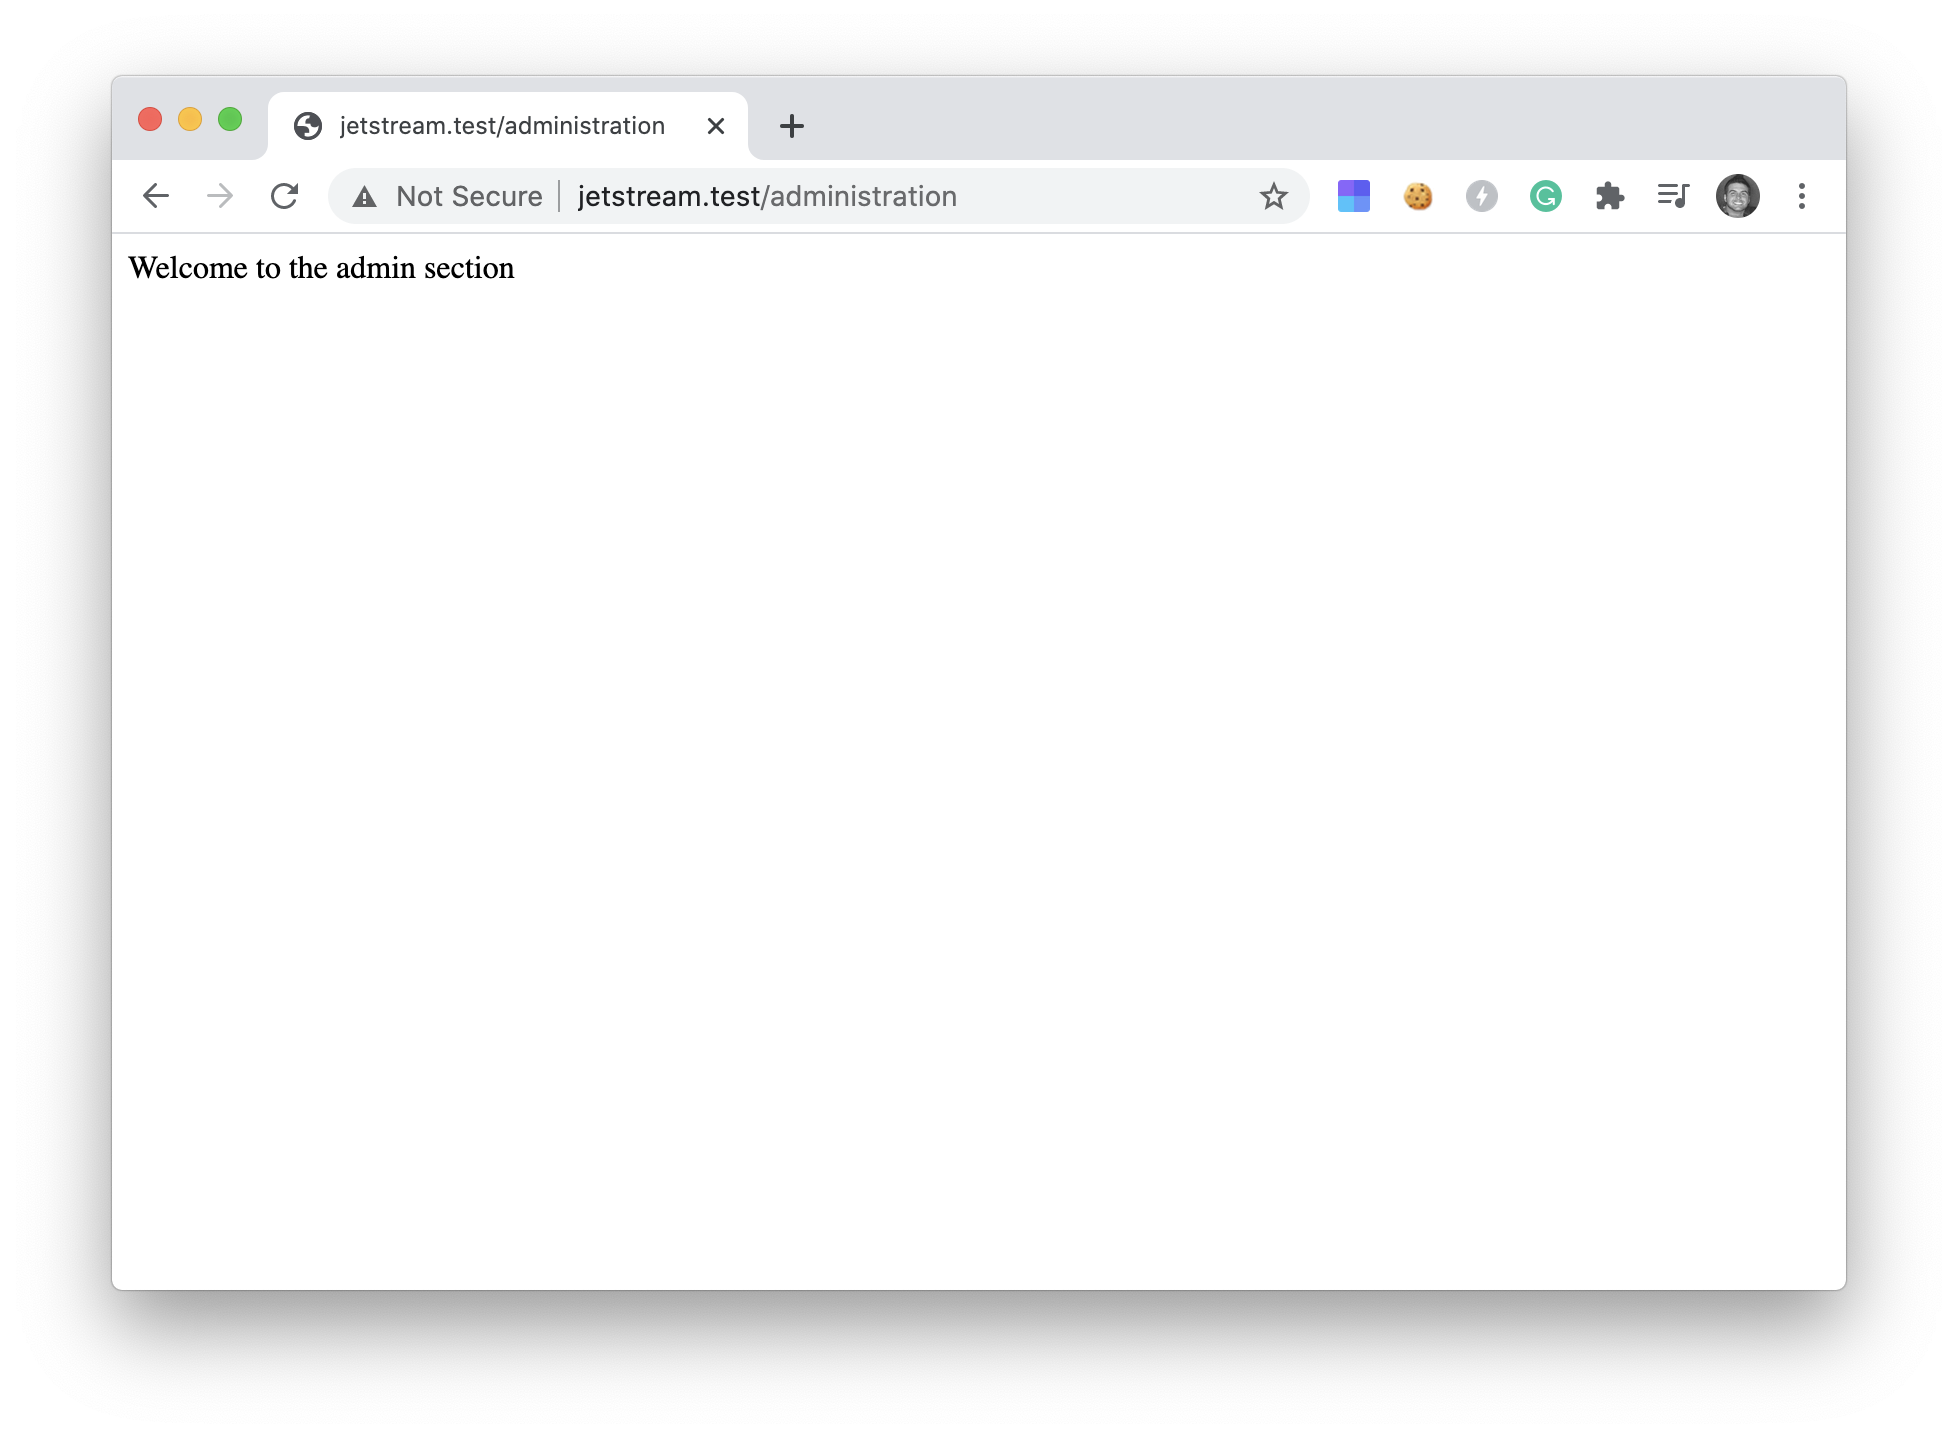
echo 'Welcome to the admin section';
} else {
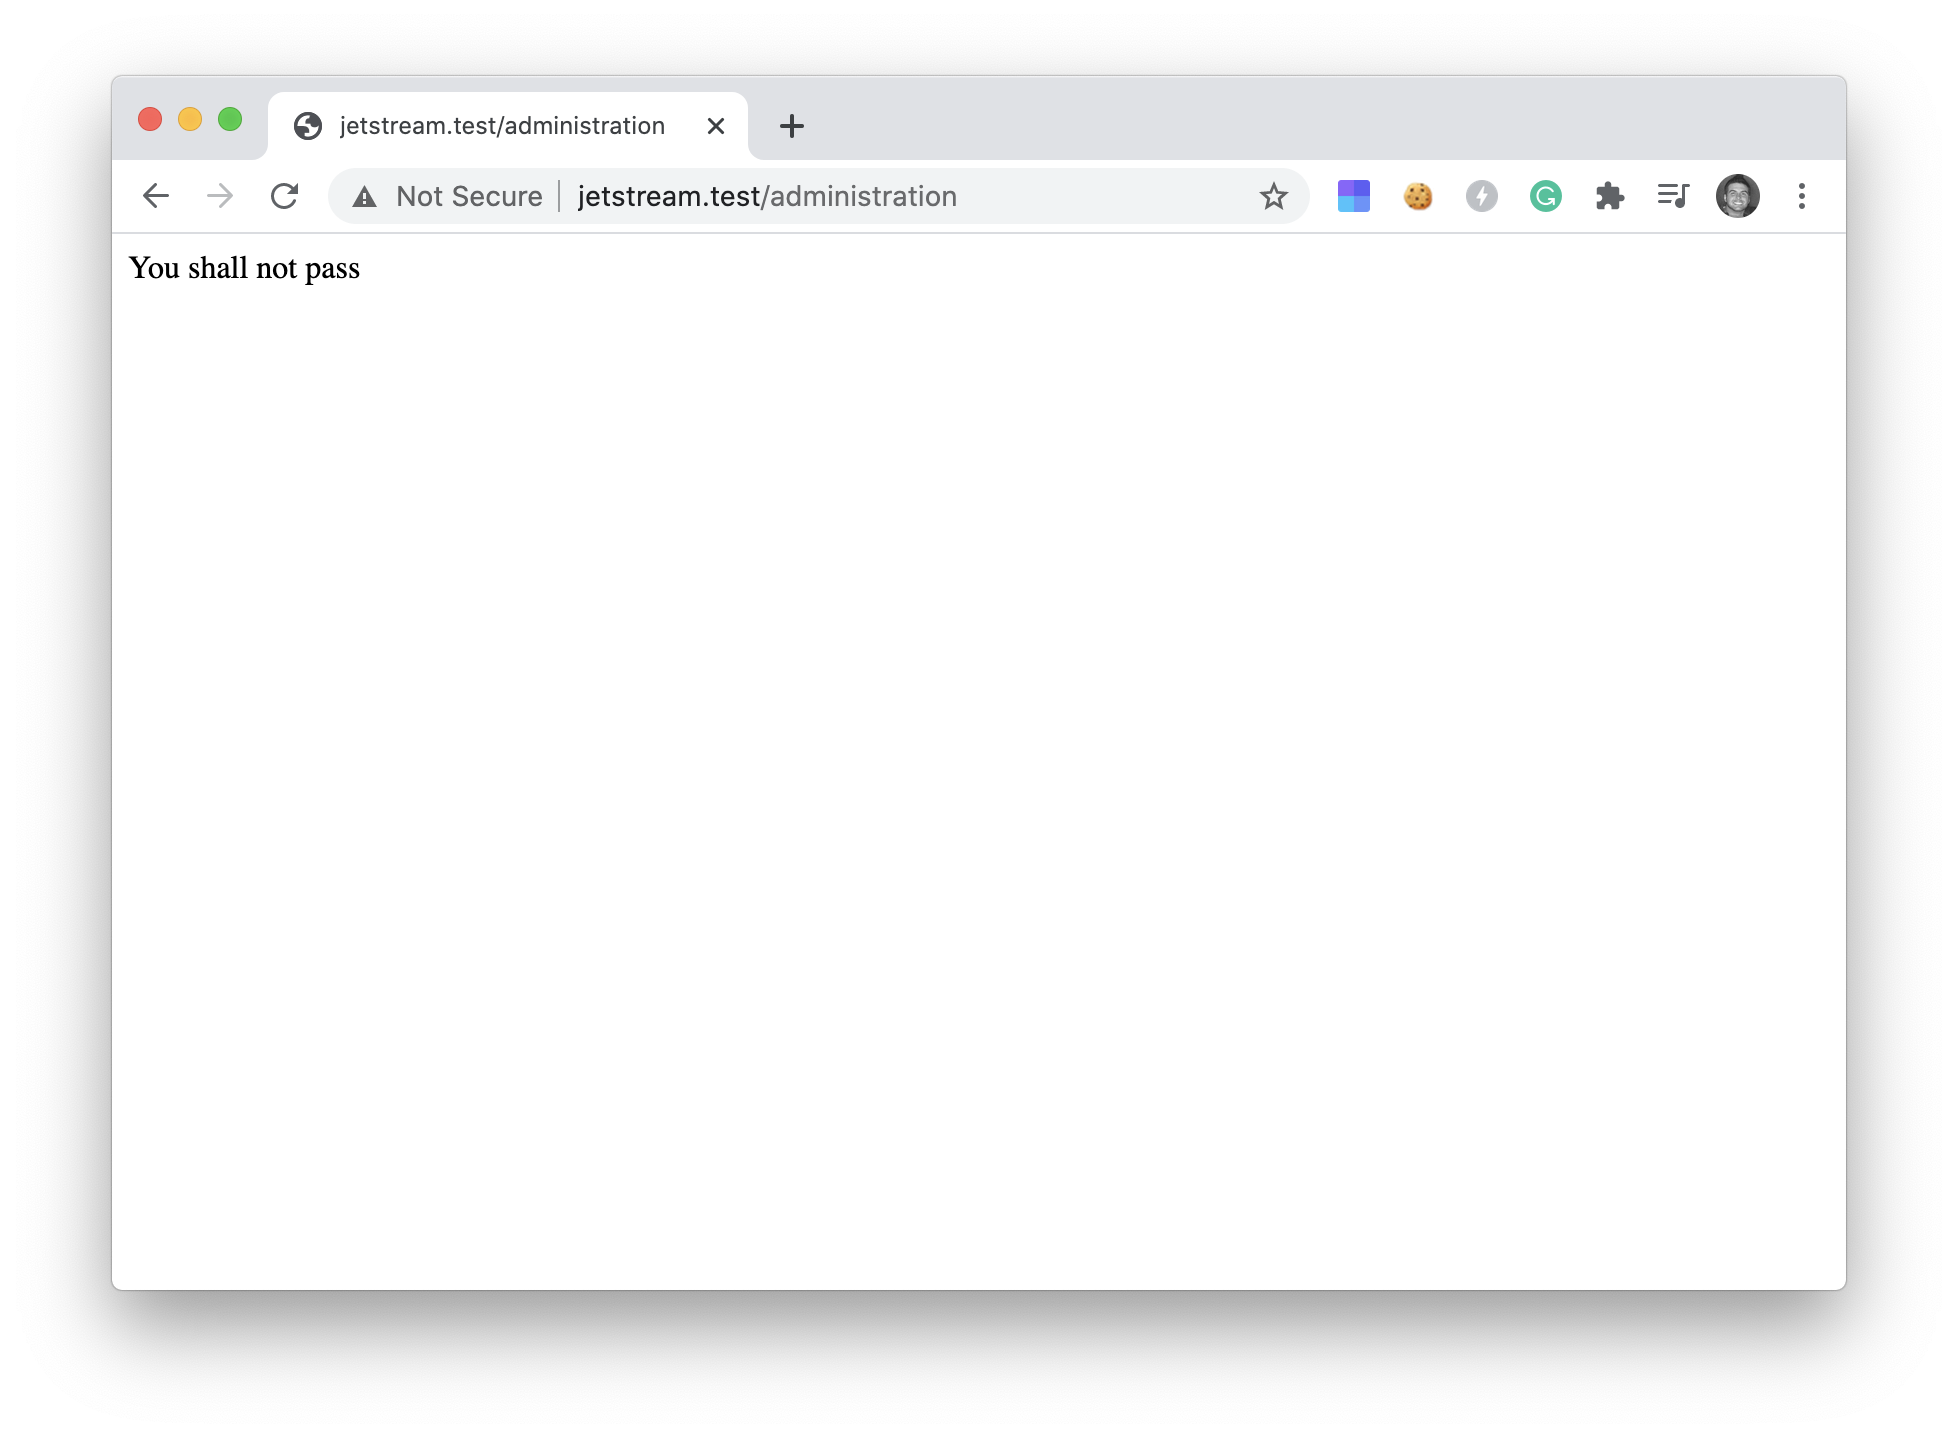
echo 'You shall not pass';
}
});
If the admin row is set 1 for a particular user, they will see the following output.
Otherwise, they'll see the following:
This is great! We have a simple way to allow or deny access to a specific section in our app. But here's the problem. What if we have these checks all over our application and want to modify user access. We would have to search our codebase and modify that check everywhere. Not very efficient.
Instead, we can define a Gate and use that throughout our application.
 View Website
 View Website
 View Website
Defining Gates
To define a gate, we can open up our App\Providers\AuthServiceProvider.php file and add the following inside our boot() method:
public function boot()
{
    $this->registerPolicies();

    Gate::define('access-admin', function ($user) {
        return $user->admin;
    });
}
We can use this Gate anywhere we want to verify admin users throughout our application. In the next section, you’ll see how we can use this new Gate.
Using Gates
To use a Gate we can call the Gate::allows() or the Gate::denies() method like so:
Route::get('administration', function(){
    if (Gate::allows('access-admin')) {
        echo 'Welcome to the admin section';
    } else {
        echo 'You shall not pass';
    }
});
Notice the
Gate::denies()method performs an inverse check ofGate::allows()
The great thing about these gates is that we can now change our definition at any time, and the authorization logic will be changed throughout our whole application.
Another reason to use Gates is to check permissions associated with data. Using a blog as an example, we can allow edit permissions to users on posts they have created.
We can pass data to our Gate to check whether or not a user has the authorization to perform an action.
Gates with data
Assume that our application has a Post table with a column of user_id, which contains the ID of the user who created it. We can define a Gate to determine if the user can edit a particular post like so:
Gate::define('edit-post', function ($user, $post) {
    return $user->id === $post->user_id;
});
Two arguments are being passed to our Gate definition. The first one is the $user object, which contains the authenticated user, and the second argument is our $post object.
Quick Note: The gate will return false if there is not an authenticated user.
This Gate will allow access if the authenticated user is the original author; otherwise, it will deny access.
Here's a quick example of how we might use our new edit-post gate.
Route::get('edit/{id}', function($id){

    $post = \App\Model\Post::find($id);

    if( Gate::allows('edit-post', $post) ){
        echo 'You can edit this post';
    } else {
        echo 'You shall not pass';
    }

});
Above, we are using Route Closures in our example, but we probably want to map this route to a controller. This will also let us use a new Authorize helper.
Authorize Helper
In addition to efficiency, another reason for using Gates are the helper functions.
Assuming that we map our route to a controller:
Route::get('edit/{id}', 'PostController@edit');
We can use the authorize() helper to check if the authenticated user has the authorization to edit a post:
<?php

namespace App\Http\Controllers;

use App\Models\Post;
use Illuminate\Http\Request;

class PostController extends Controller
{
    public function edit($id){

        $post = Post::find($id);
        $this->authorize('edit-post', $post);

    }
}
If a controller extends from the App\Http\Controllers\Controller base class, you can utilize the authorize() helper in the same way you would use the Gate::allow() function.
Last up, what if we wanted to check authorization inside of a view? We can use the @can blade helper to do just that.
Authorization in your Views
Given the following blade view:
<!DOCTYPE html>
<html lang="en">
<head>
    <meta charset="UTF-8">
    <meta name="viewport" content="width=device-width, initial-scale=1.0">
    <title>{{ $post->title }}</title>
</head>
<body>
    <h1>{{ $post->title }}</h1>
    <p>{!! $post->body !!}</p>
</body>
</html>
We can check that the current user is allowed to edit this post by using the awesome @can blade helper:
<!DOCTYPE html>
<html lang="en">
<head>
    <meta charset="UTF-8">
    <meta name="viewport" content="width=device-width, initial-scale=1.0">
    <title>{{ $post->title }}</title>
</head>
<body>
    <h1>{{ $post->title }}</h1>
    <p>{!! $post->body !!}</p>

    @can('edit-post', $post)
        <a href="edit/{{ $post->id }}">Edit Post</a>
    @endcan

</body>
</html>
If the authenticated user is the original author of this post, they will see an Edit Post button.
Using the @can helper can make our code easier to read and manage. You can also use the @cannot as the inverse.
Conclusion
That is the basics of using Gates in your Laravel application. Gates allow us to easily authorize access to areas of our application for specific users. This may also be referred to as an Access-Control List (ACL), a list of permissions associated with an object.
But we shouldn't overcomplicate things... In its simplest form, a Gate is used to allow or deny access. A user can either enter a Gate or not enter a Gate.
Because this tutorial is about letting users pass and not pass... It's necessary to send you off with this Gandalf image from Lord of the Rings.

To learn more about Laravel Gates, be sure to visit the documentation on Authorization..
Happy Authorizing 🔐
Comments (0)