In this article, I'm going to show you how to very quickly deploy any React application with the help of Cloudflare pages.
You'll see how to not only build and deploy your app within minutes using just a few tools, but also how to auto-deploy any future changes you make through your GitHub account.
How to Get Started
To get started, you'll need the following tools:
- The package manager npm and version control software Git
- Your own (free) GitHub account and Cloudflare account
Create our React Project
To deploy a React application we first need to have one created.
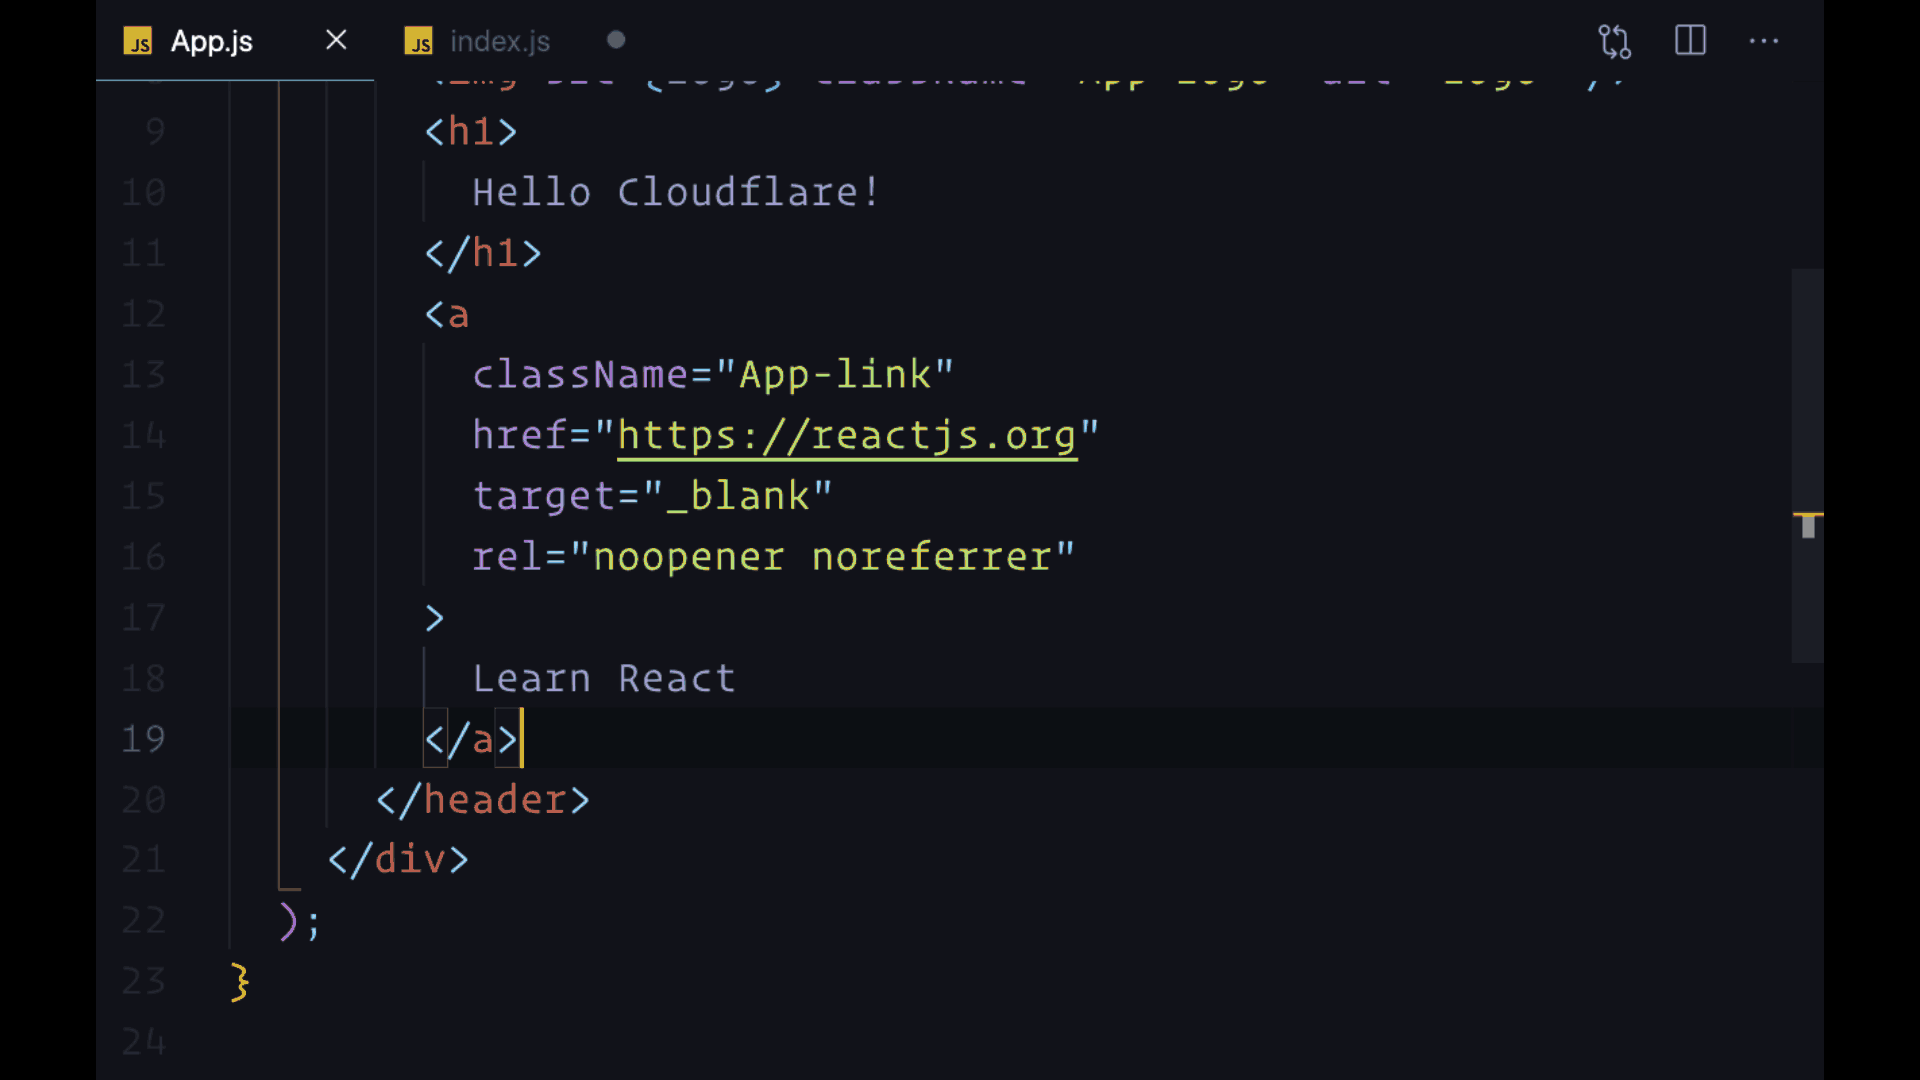
Let's build a React app on our computer with the help of Create React App. We can do so by giving it the name "cloudflare-react":
npx create-react-app cloudflare-react
Create our Github Repository
And once our project been created successfully, let's go ahead and create a GitHub repository for it.
We use GitHub to be able to keep an online, easy-to-manage record of our individual projects. GitHub also allows other users to make improvements to our code through pull requests.
Cloudflare uses GitHub to keep track of all of our code and whenever we make changes.
To track our new React app, we create a new GitHub repository by going to github.com/new.
Next, we can simply add all of our files and commit them with a message that says what we are doing:
git add .
git commit -m "Deploy to Cloudflare Pages"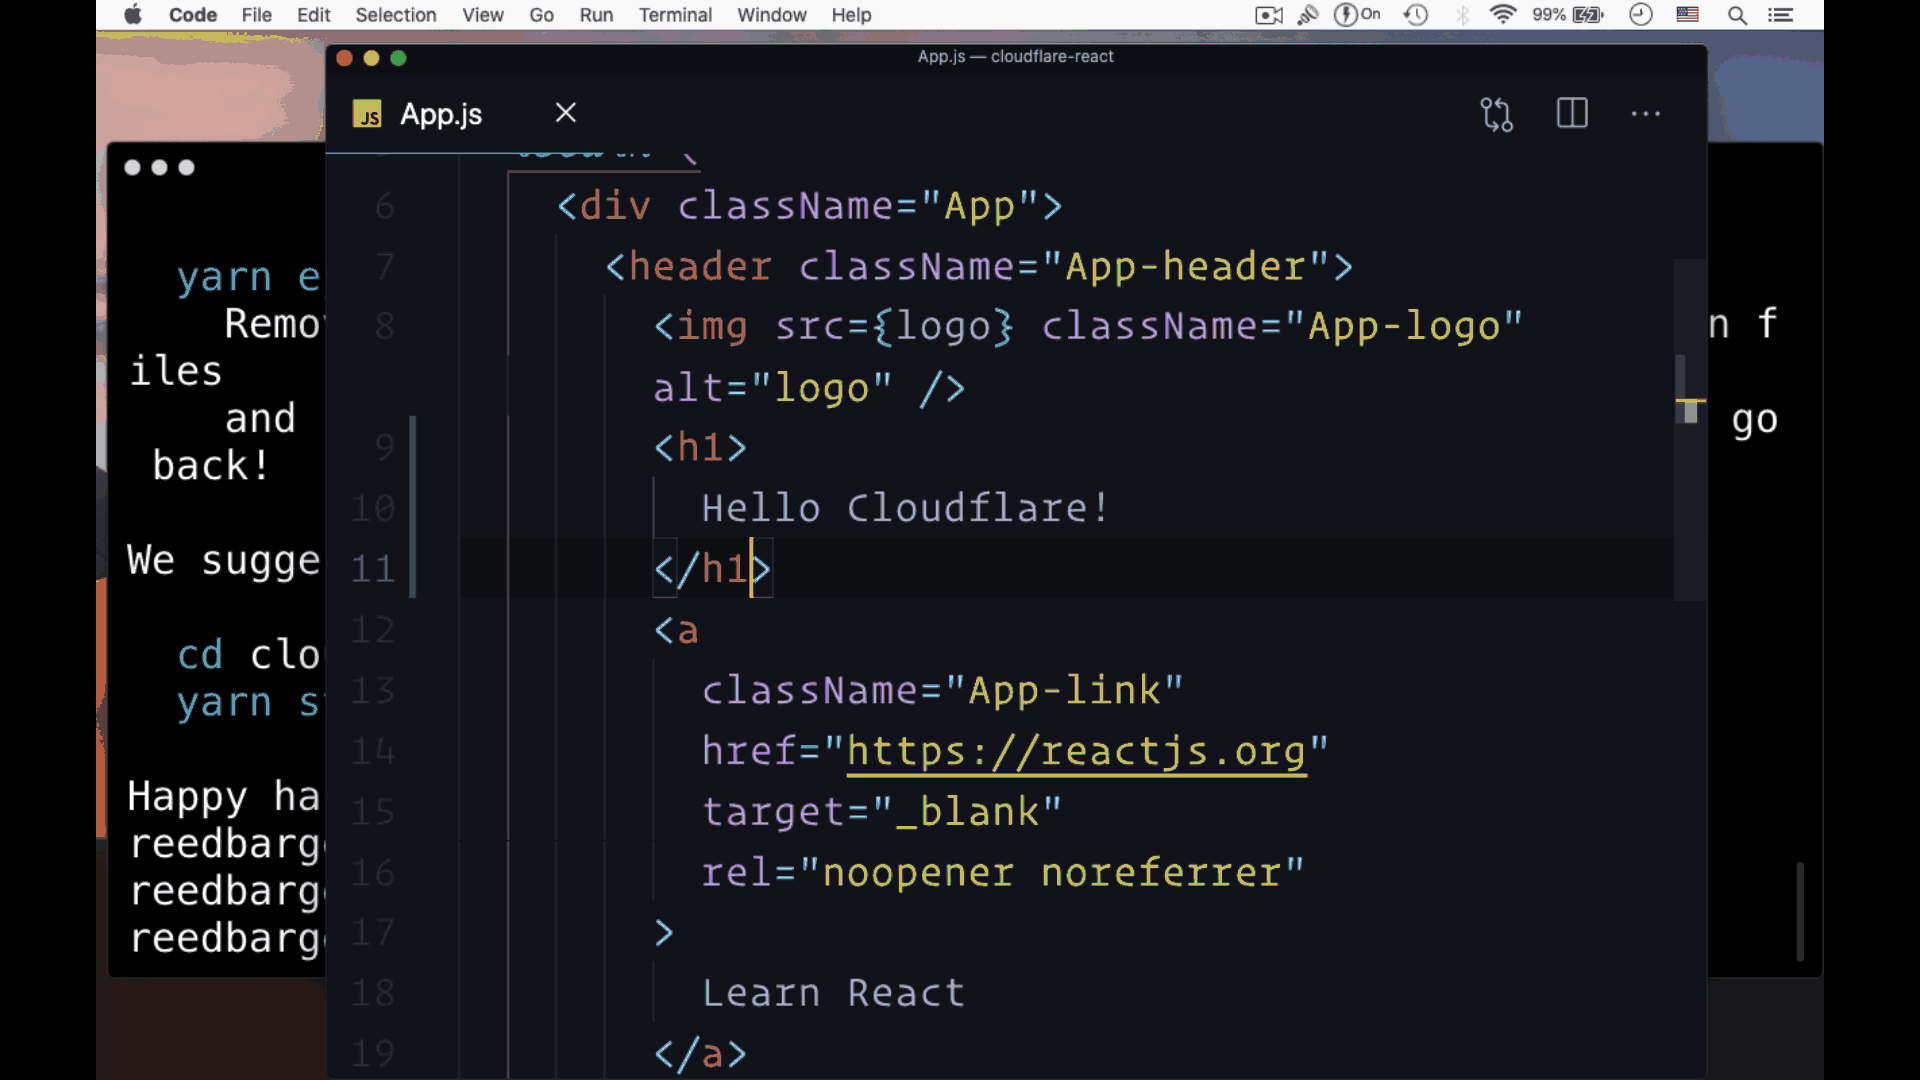
Next, we need to add the appropriate Git remote, used to push our committed code upstream to our new GitHub repo.
GitHub will tell you the command you need to include for your newly created repo. It should look something like this:
git remote add origin someurlAnd finally, we can simply run git push -u origin master.
After we refresh our GitHub repo page, we should see all of our React project code, pushed to GitHub.
This is the first main requirement of deploying an application to Cloudflare pages – to have a React application living on GitHub.
Create a Cloudflare Account
Next, we go to Cloudflare to deploy our React project.
If you don't have a free Cloudflare account already, you can go to pages.cloudflare.com and hit "Sign up":
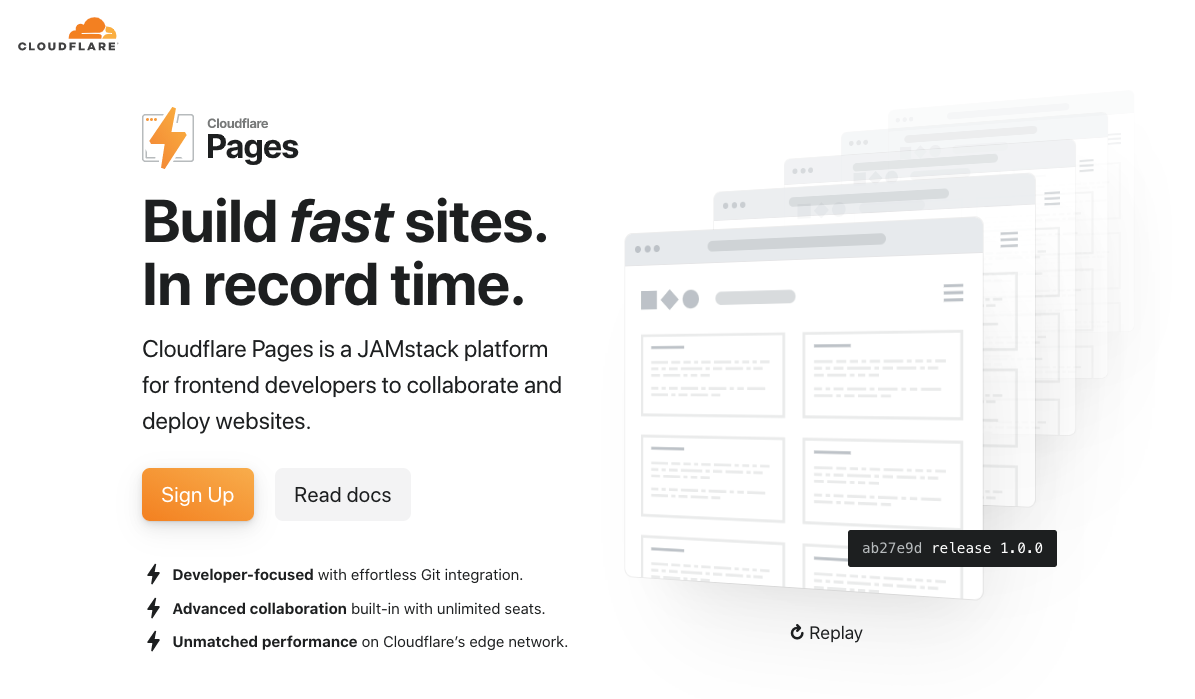
One main reason why you and most other developers would be interested in using Cloudflare pages, is that Cloudflare has a worldwide CDN. This allows for faster delivery of our deployed application.
Cloudflare also has resources such as DNS management, which is especially helpful if you want your application to have its own custom domain.
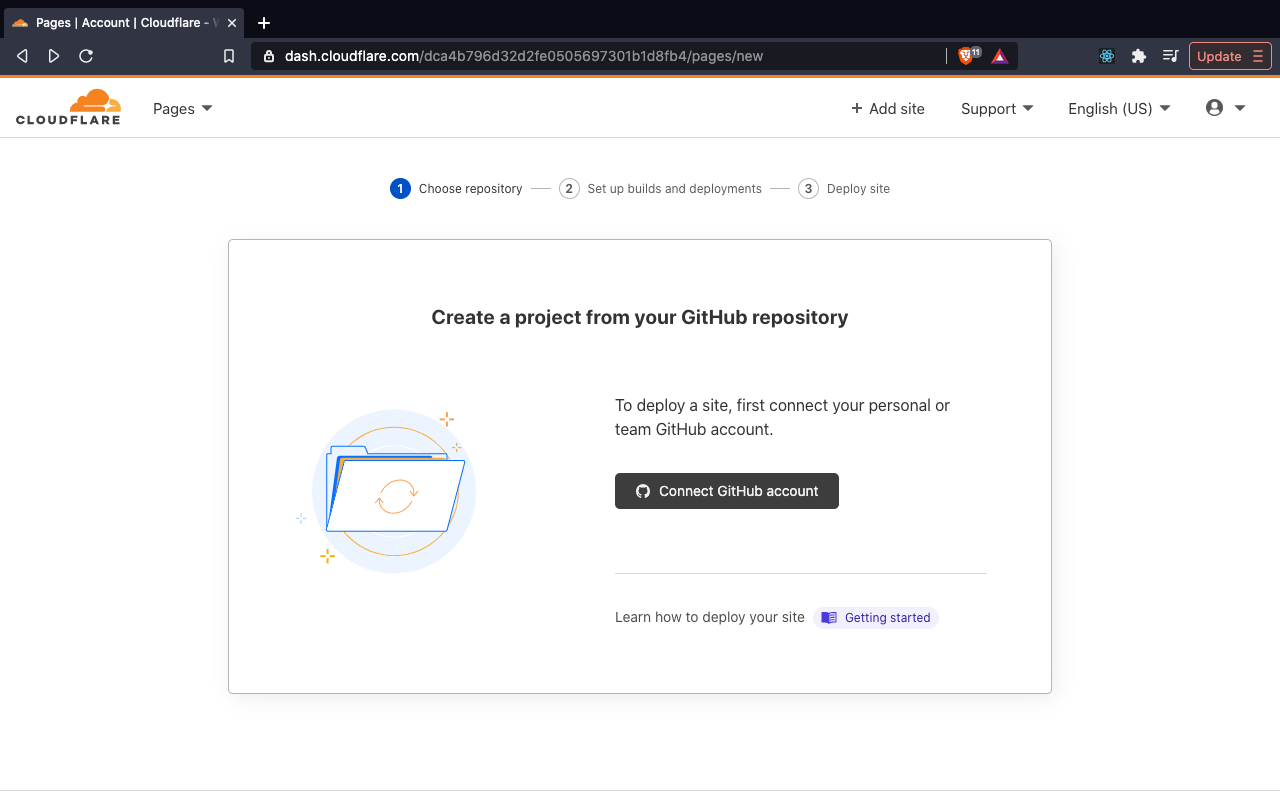
Link GitHub to Cloudflare Pages
The first time you visit Cloudflare pages you'll be prompted to create a project from your GitHub repository so you'll select the Connect GitHub account button:
Then you'll be asked to install and authorize Cloudflare pages.
This step allows us to choose what Cloudflare gets access to – whether we want to give it access to all of our repositories or only to select repositories:
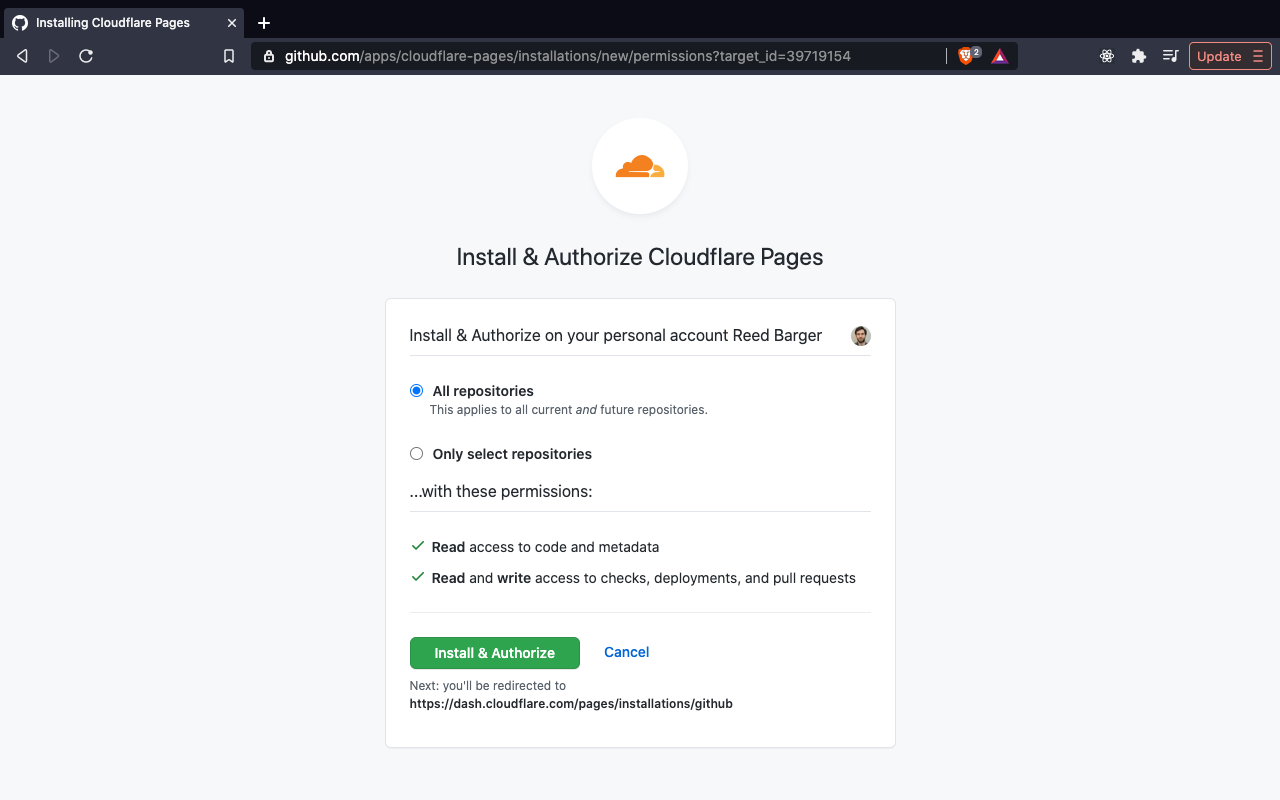
If you want to deploy multiple projects in the future I'd recommend selecting all repositories.
As a result, Cloudflare will have the ability to access any code and deployments that we've made so it can be deployed to the web.
Deploy our React Project to Cloudflare Pages
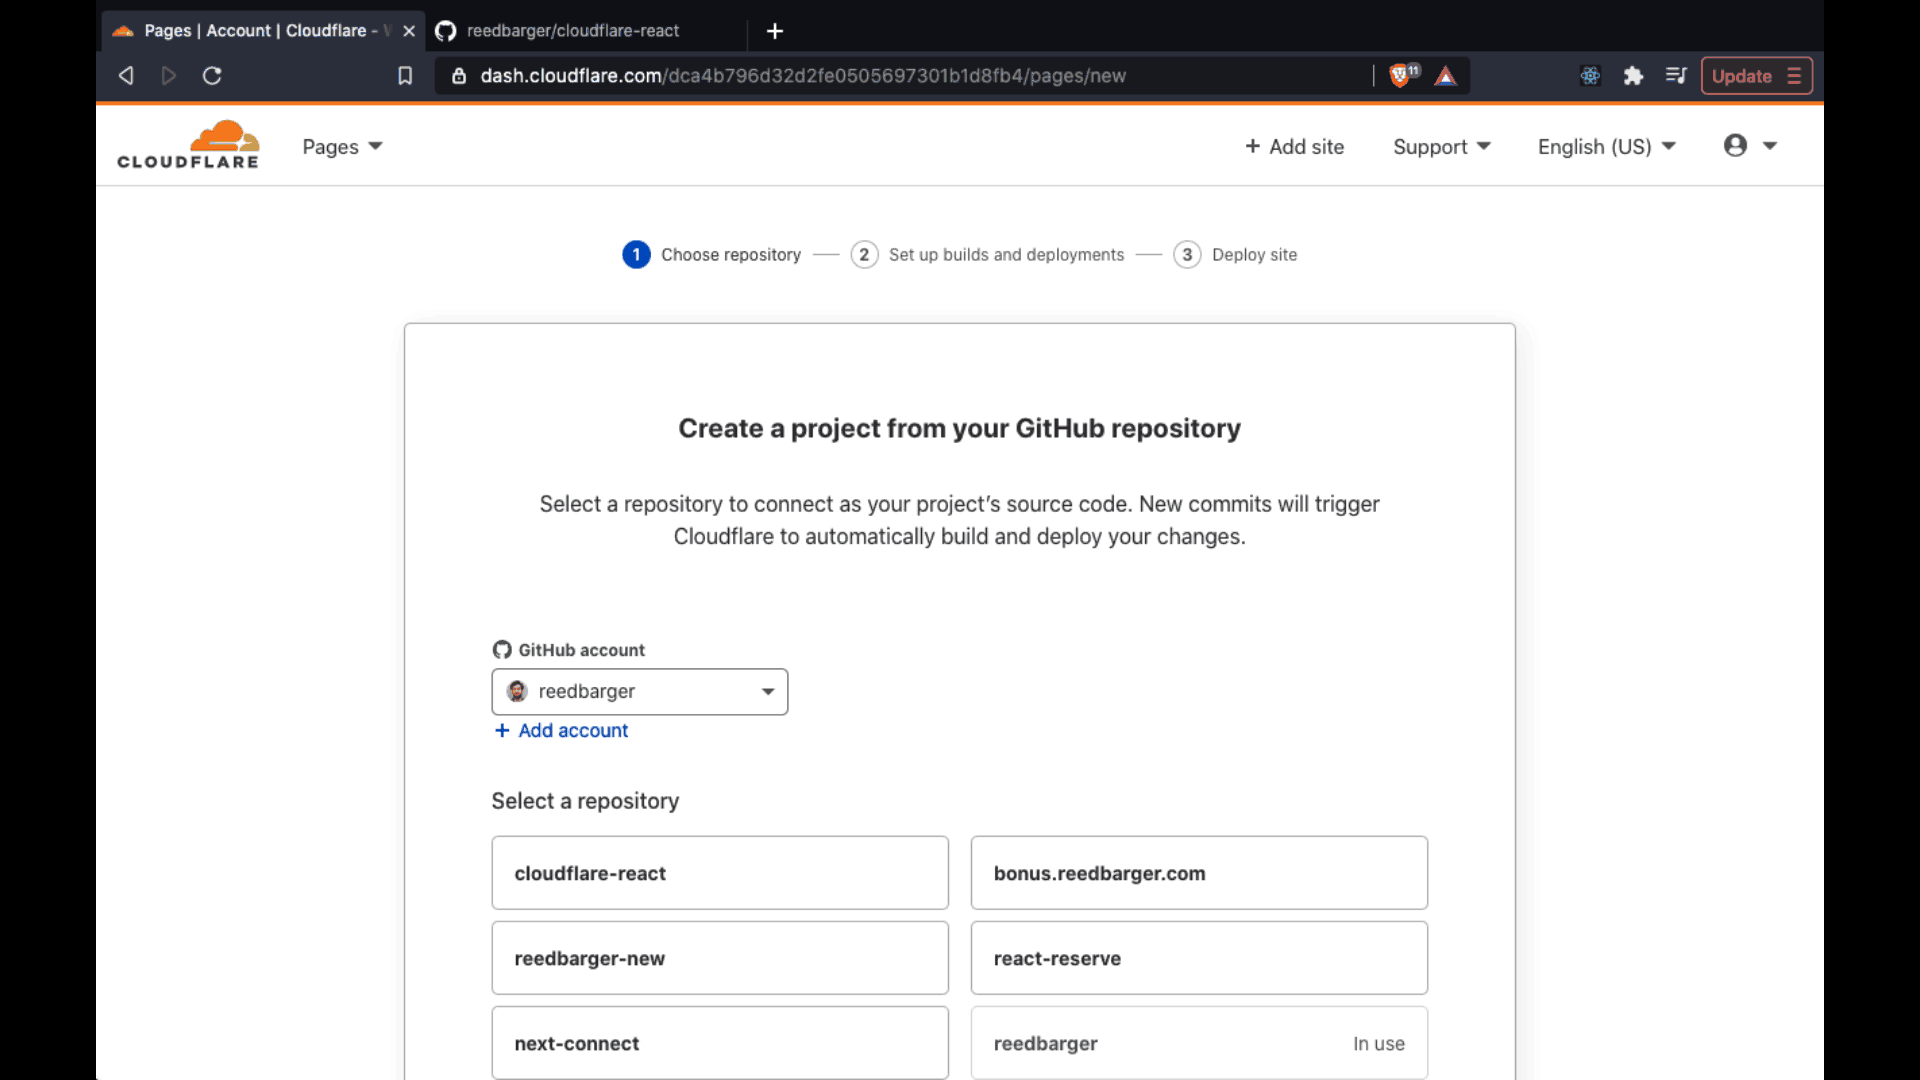
Once we've given Cloudflare authorization to do so, we'll see a screen where we can choose what project from our GitHub repository we want to deploy:
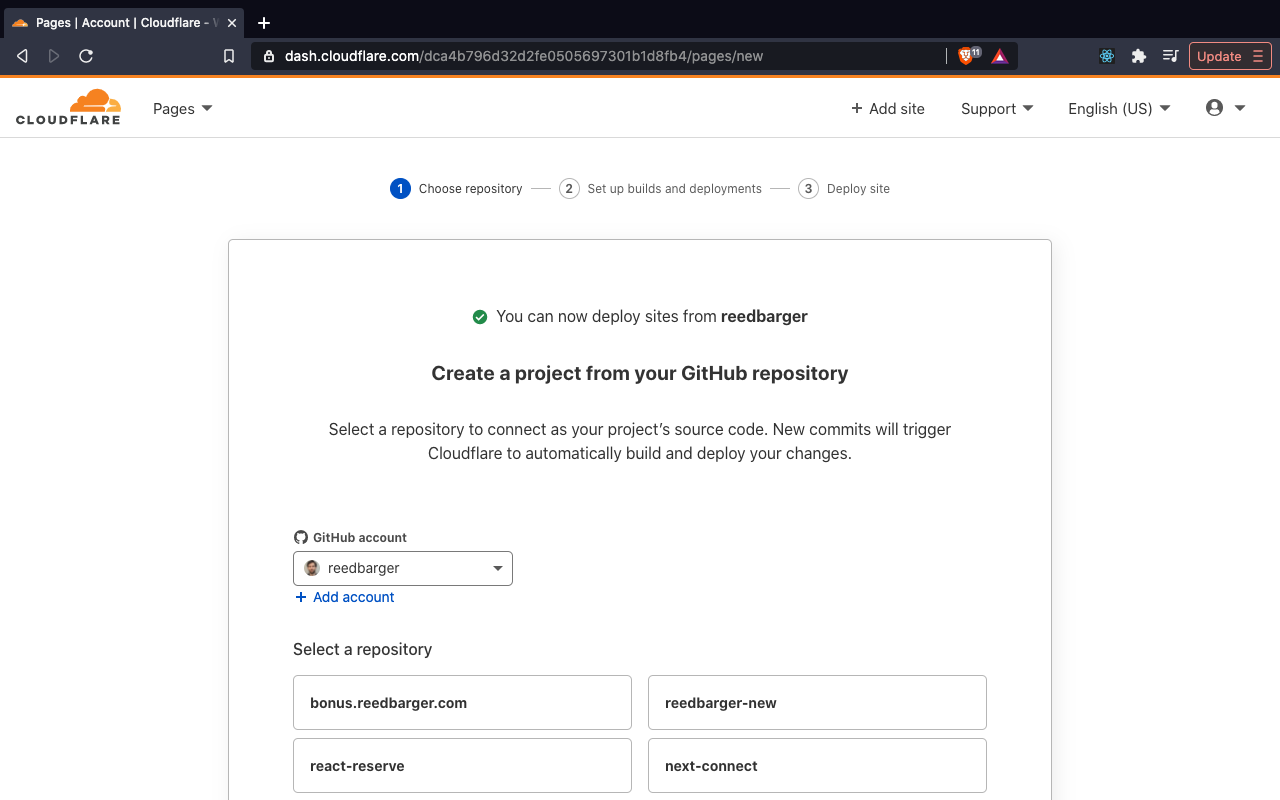
In our case, we'll choose our "cloudflare-react" repo, after which we will hit Begin setup.
From there we can choose what project name we want our React app to have with Cloudflare. This project name is important because it determines the subdomain that it's going to be deployed to.
Since we chose "cloudflare-react", it will be deployed to cloudflare-react.pages.dev:
We can choose which branch to deploy, as well as the build settings.
Note that all we really have to do is choose what framework preset we're using. Cloudflare has a preset option for our framework – Create React App.
When we choose it, it's going to include the default settings for any Create React App project: to deploy the project by running the build command "npm run build" and the output directory (the folder to which our React code will be built upon running this build command) is named "build".
There are other helpful presets for any React application that's made with a framework like Next.js or Gatsby. You can use Cloudflare pages to deploy almost any type of React application you can think of.
Finally, we can hit the deploy button. The deployment process will take about four to five minutes the first time. Be patient, but be aware that any subsequent deploy is going to take a lot less time.
We do see some helpful logs about our project being built and the progress of our deployment. If there were an error in that process, we would see it in the logs and get some indication as what as to what we needed to fix.
Then to see our deployed project we can hit the Continue to Project button, hit "Visit Site" and we can see our app running on the URL: your-project-name.pages.dev.
Make Changes with Auto Deploys
While it was very easy to instantly deploy our React application to the web after we had it pushed to GitHub, the next step is to make changes to our app and redeploy it.
As you'll see, this auto-deploy (continuous integration) functionality has already been set up.
In the case of my application, I decided to install React Router DOM to add an about page. On the home page, I also added a link to the about page:
After I was done performing that change which you can see in the video above, I went through the same process of running git add ., git commit with a message about the changes that I made, and then git push.
After doing so, if we flip back to our Cloudflare pages dashboard, we can see that immediately Cloudflare has picked up this new deploy because it's linked to our GitHub account and can view any deploys or pull requests that were made to our repo.
As a result, it instantly re-deploys our app with the changes that we made. As our deploy is taking place, we can hit "View build" and can see specific information about this deploy, along with any logs.
As you will see, any change made after the initial deploy takes a lot less time (it only takes about a minute in total for the deploy to finish successfully). You will also see that it's given its own unique deploy hash at the beginning of our URL. This allows us to uniquely reference each deploy.
If we remove the hash, we see that the changes that we made are also deployed to our chosen project name: cloudflare-react.pages.dev.
Conclusion
I hope that this tutorial shows you just how easily it is to get started with the new Cloudflare pages. You can start deploying your React apps to it today to take advantage of their global CDN and all the additional features that Cloudflare has to offer.
Cloudflare pages is still quite new, but it offers a lot of tools already that are worth checking out. I'd highly recommend it as your deployment service for the next React app you want to share with the world.
Become a Professional React Developer
React is hard. You shouldn't have to figure it out yourself.
I've put everything I know about React into a single course, to help you reach your goals in record time:
Introducing: The React Bootcamp
It’s the one course I wish I had when I started learning React.
Click below to try the React Bootcamp for yourself:

Click to get started